Friday, October 27, 2017

Star Snack


Gather pretzel sticks, wax paper, a bowl of peanut butter chips (or you could use chocolate chips if your child is allergic), scissors, and a Ziploc bag.


Melt the peanut butter chips in the microwave for 30 seconds and stir.


Place the melted peanut butter chips in a Ziploc bag and press it into a bottom corner.


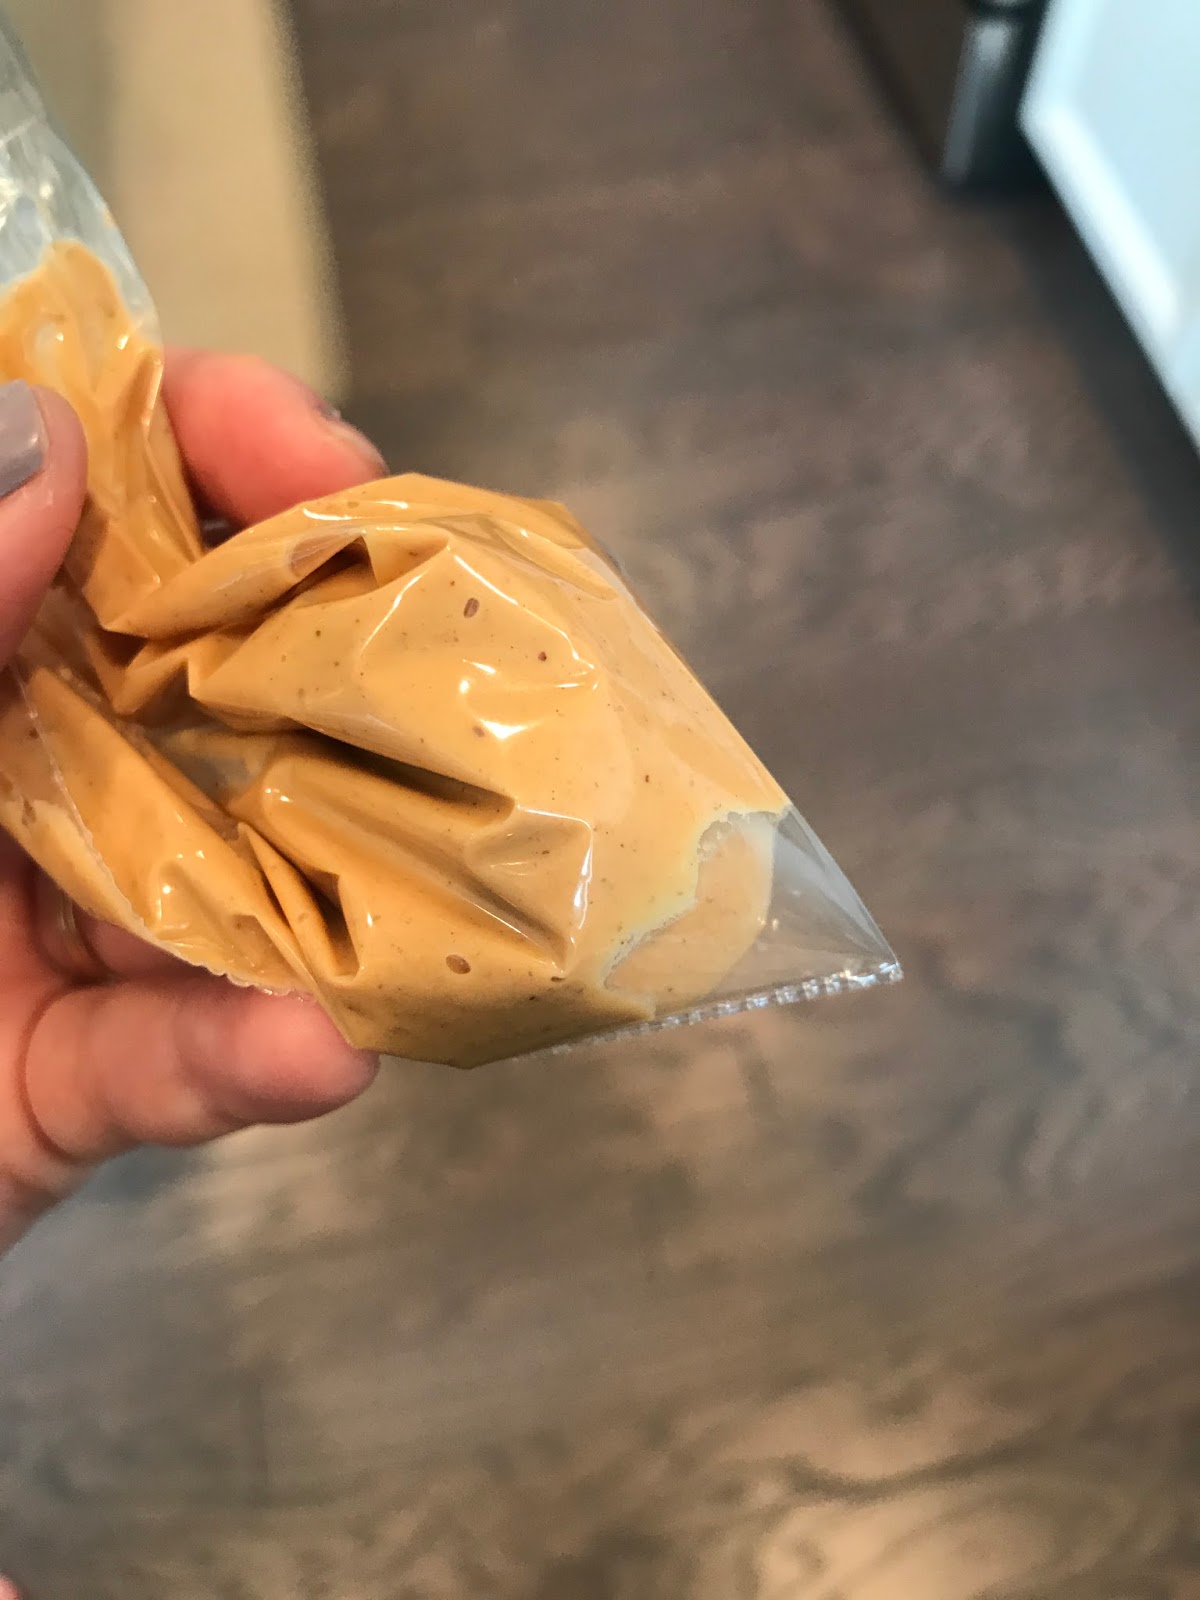
Cut the tip of the bag to create a piping bag.


Roll out some wax paper and place two pretzel sticks on it (as seen in the picture), connecting them with peanut butter from your piping bag.


Then add four more dots of peanut butter, as seen in the picture.


Add a pretzel stick going from the bottom right peanut butter dot to the top left.


Then lay another pretzel stick going straight across.


Now add one last peanut butter dot to the right side of the pretzel stick you just added, followed by placing the last pretzel stick from the top right peanut butter dot to the bottom left. Your star is now complete!


Let the star sit for a few minutes and then you should be able to pick it up and enjoy a special star snack!


The wise men came to see God’s son by following a star in the sky!


Party Hat


Gather a few pieces of construction paper (make sure to include yellow for the tops of the candles), scissors, tape, crayons and stickers.


Cut a piece of construction paper into 2-3-inch  strips. I needed two strips to wrap around my child’s head.


Tape the two pieces together.


Put the two ends together to make a circle and adjust as needed to fit your child’s head. Trim the excess paper and tape together.


Cut smaller 1-inch strips out of the construction paper to be the candles. I made 6 candles total.


Let your little one color the candles.


While they are coloring, cut out the tops of the candles from the yellow construction paper.


Tape the tops of the candles to the candle bases. While you are taping, let them add stickers to their hat.


Lastly, tape the candles to the inside of the hat. Now you are ready to party! Put the hat on your child and sing “Happy Birthday” to Jesus!


Jesus is the best gift of all! God gave us Jesus because He loves us!

Shepherd Staff


 Gather a pipe cleaner and Cheerios®.


Bend one end of the pipe cleaner to resemble a shepherd’s staff.


Start sliding Cheerios onto the pipe cleaner.


Continue until it’s full of cheerios!


Shepherds use a staff to help take care of their sheep.  The shepherds were taking care of their sheep when the angels told them that Jesus was born!

Tuesday, October 24, 2017

Praise Him


Gather plastic eggs (2 for each child), rice, masking tape, and 
preschool worship music on your device.


Fill each plastic egg with rice and close them.


Wrap tape around the egg to prevent spilling.


Turn on the worship music and sing and dance with your egg shakers!


David praised God and we can praise God too! One way we can praise Him is through dancing and singing!

Thursday, October 5, 2017

Baby Jesus Oranment


Gather ½ of a large plastic egg (I used the bottom ½), brown construction paper, another piece of construction paper for baby Jesus, a piece of white felt (or a piece of paper towel), a crayon, ribbon or yarn, scissors, and glue and/or tape.


To prep the egg, start by poking two holes in the bottom of the egg with the scissors.


Then cut a piece of yarn and string it through the holes.


To help it hang better, glue or tape the yarn to each side of the egg.


Let your child rip some pieces of brown construction paper to be the hay.


Cut an oval-like shape out of the other piece of construction paper to be baby Jesus and draw eyes on him with the crayon.


Next, cut a small square out of the white fabric and glue it on to baby Jesus. This is his blanket.


 Now that all of your pieces are prepped, place the “hay” in the egg (manger).


Then place baby Jesus in the manger and hang it on your tree!


Jesus was born in a manger! Talk with your child about the night Jesus was born.

Handprint Angel


Gather a dark colored piece of construction paper, a piece of construction paper for the angels face, crayons or markers, aluminum foil, a yellow or gold pipe cleaner, white paint, a paper plate, scissors, and glue.


Draw and cutout a circle for the angel’s head.


Using the markers or crayons, draw facial features on the circle.


Roll out some aluminum foil and place your dark colored piece of construction paper under it so you can see how wide to cut your triangle.


Put some white paint on your paper plate.


Place your child’s hand in the paint and press it on the dark colored construction paper. You will need a handprint on each side to make the angel’s wings.


Glue the angel’s body (aluminum foil) onto the paper.


Now glue the angel’s head onto the paper.


Next, make a circle out of the pipe cleaner. This will be the angel’s halo.


Cut the pipe cleaner and twist the ends together to make a complete circle.


Glue the halo on top of the angel’s head. Ta-da!


An angel came to tell Mary she was going to have a baby and to name him Jesus! How amazing!